Portal Customization
Here you will learn how to customize the portal by adding new Thematic Areas, new Menus and Menu items.
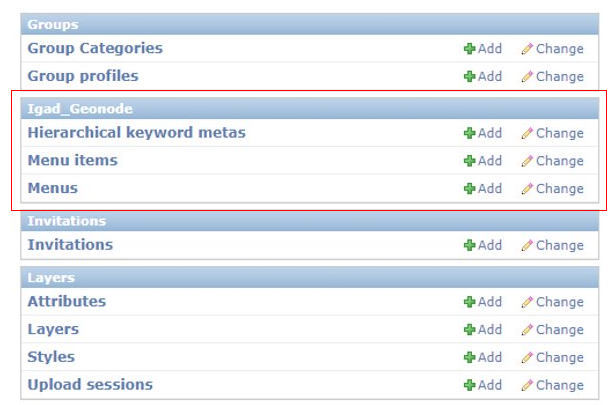
- Scroll down the page and Find the Igad_Geonode list box.
Creating Menus and Menu items
These two options allow you to create new menus in the Top menu bar or in the sidebar.
Creating Menu in the Topbar
Click on the Add icon in Menus.

Fill the requested fields then Save it.

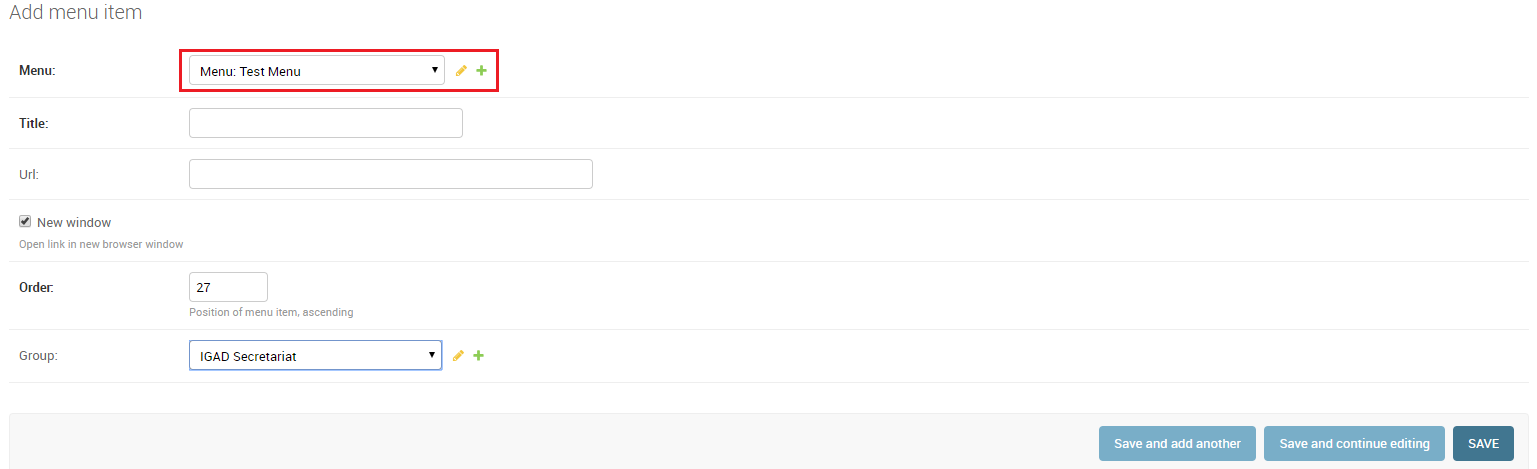
Click on the Add icon in Menu items.

Select from the list the menu created previously and Fill the other fields then Save it.
Navigate to the welcome page of the portal. You will find the menu created and its item in the top menu bar.

Creating Menu in the Sidebar
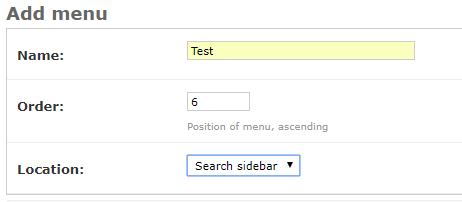
Click on the Add icon in Menus.
Fill the requested fields then Save it.
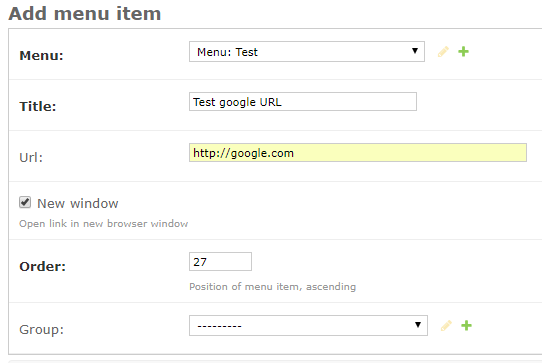
Click on the Add icon in Menu items.
As an example let us create a menu item as an external link to Google. Fill the requested fields then Save it.
Navigate to explore data from the main page of the portal. You will find the menu created in the sidebar.
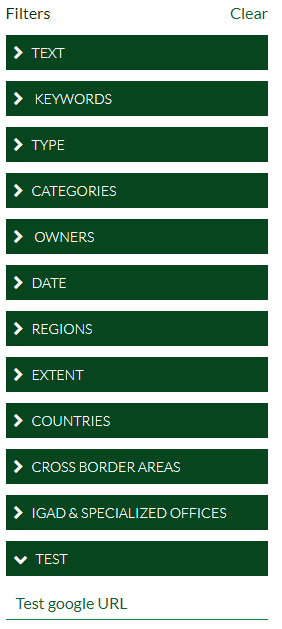
By clicking on Test google URL, you will be addressed to the site of google.
Creating New Thematic Areas and Keywords
Here you will learn how to create new Thematic Areas and its related keywords following a hierarchy or to manage already existing ones. Let us begin following a structured procedure to create a hierarchy from A to Z.
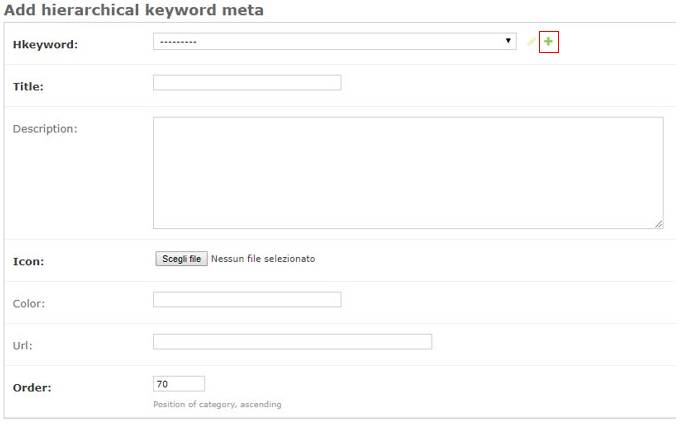
Click on the Add icon.

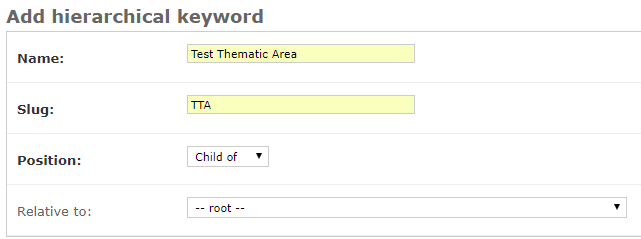
On the new page, Click the + icon to create a new Thematic Area (the head of the hierarchy).
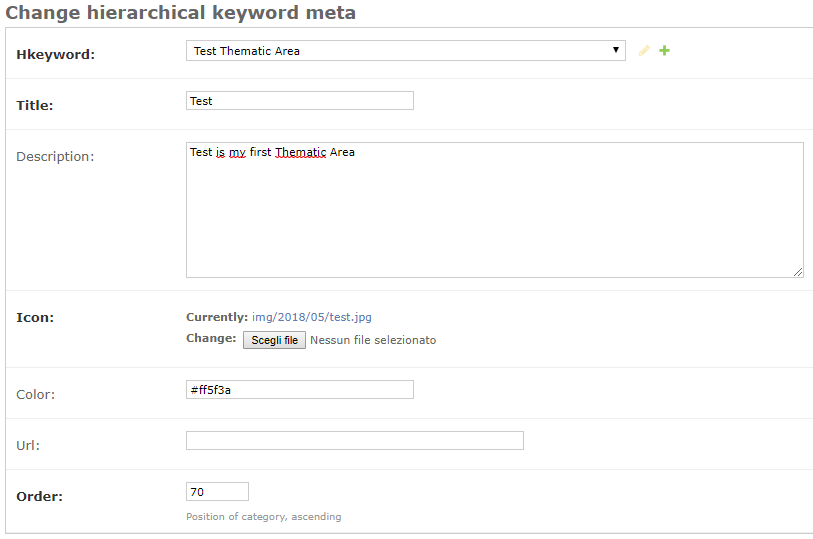
Fill the requested fields, for example as the figure below then Save it.
Now you can find the created Thematic Area within the list.
Select Test Thematic Area from the Hkeyword list. Fill the requested metadata fields then Save it. These fields allow you to describe and customize your Thematic area by adding a Title, Description, an Icon etc..
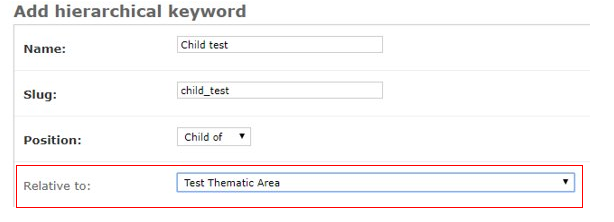
Now let us create a child in our Thematic Area.
Click again on the + icon then Fill the fields as in the figure below and Save it.
Note
Note that now Child test is a child relative to Test Thematic Area.
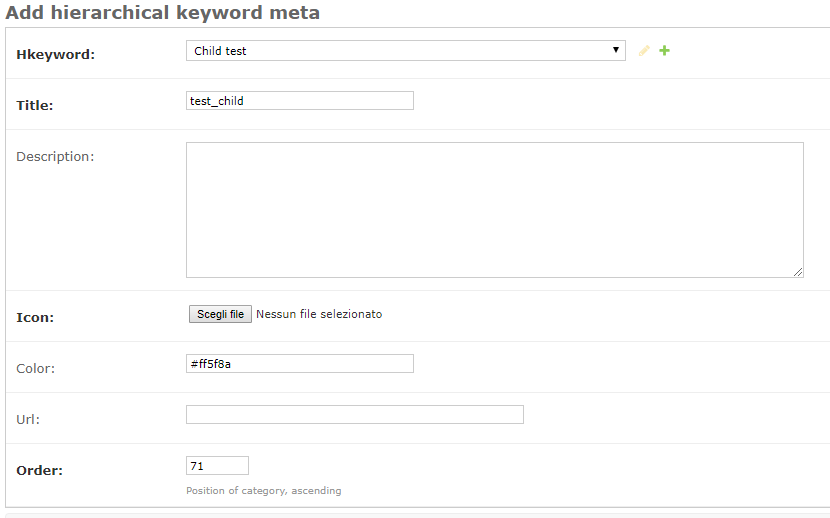
Fill the requested metadata for the Child test fields then Save it.
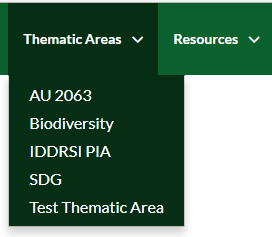
Return to the main page of the IGAD portal. Drop down the Thematic Areas menu, you should find the thematic created before.
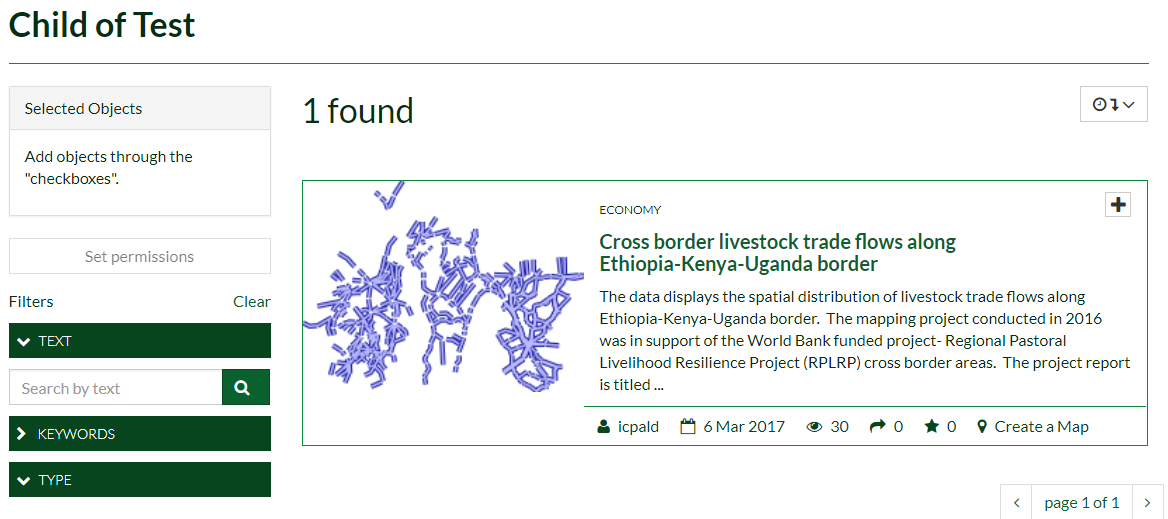
Enter the Thematic Area Test by clicking on it. You will find the child created before.

The child tab is empty at the moment. To assign a Layer, Document or a map to the child:
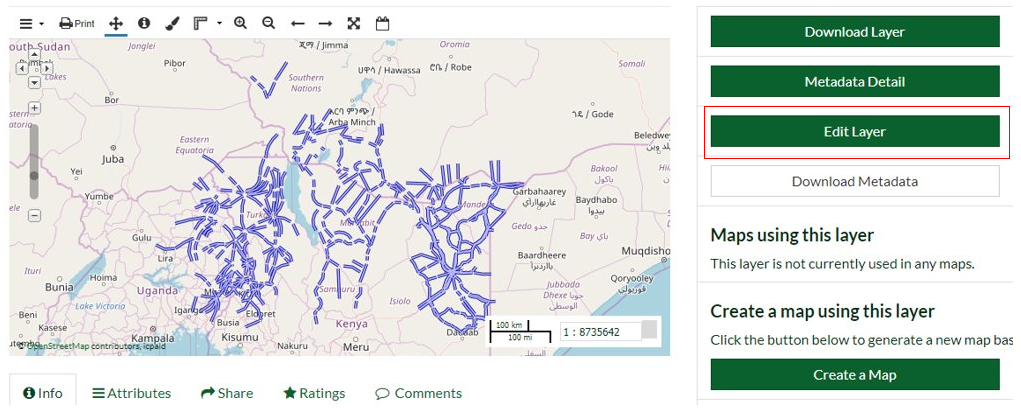
As an example, Explore the existing layers then Select one. Click on Edit Layer tab.
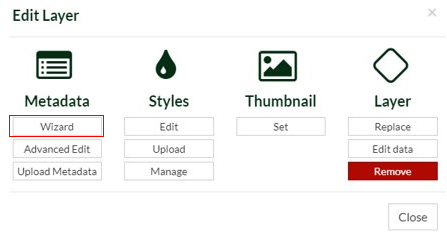
Click on Wizard in the pop up page.
Assign the keyword Child test to the layer then Update.

Now the Child test tab is not empty anymore and contains the assigned layer.