Managing Users, Groups and Data
This section will show you how to manage users, groups and the data.
Managing Users
Let us begin to see how to add and modify users.
Adding User
Find the box called People. This option allows you to add users or to approve the subscrition of a new user.

Click on the Add button, Fill the form then Save.
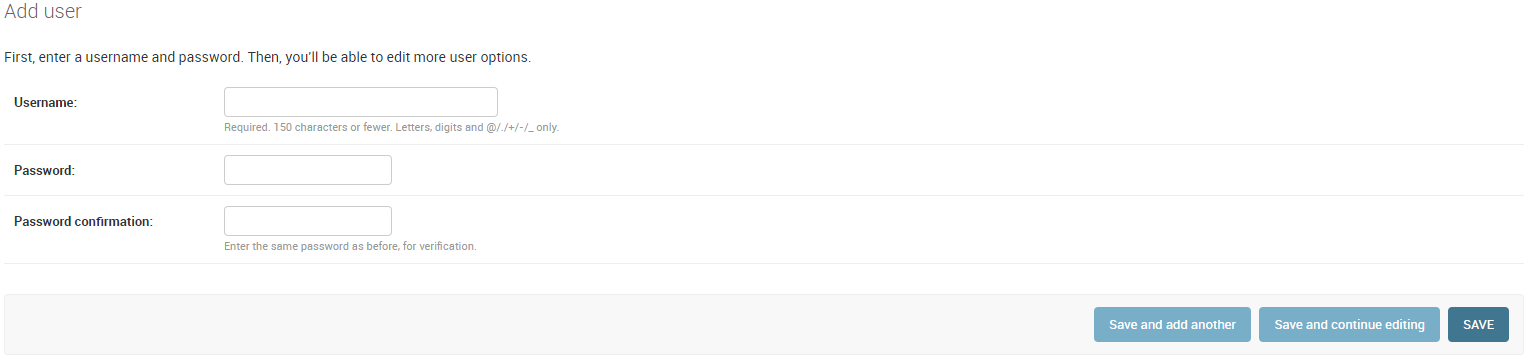
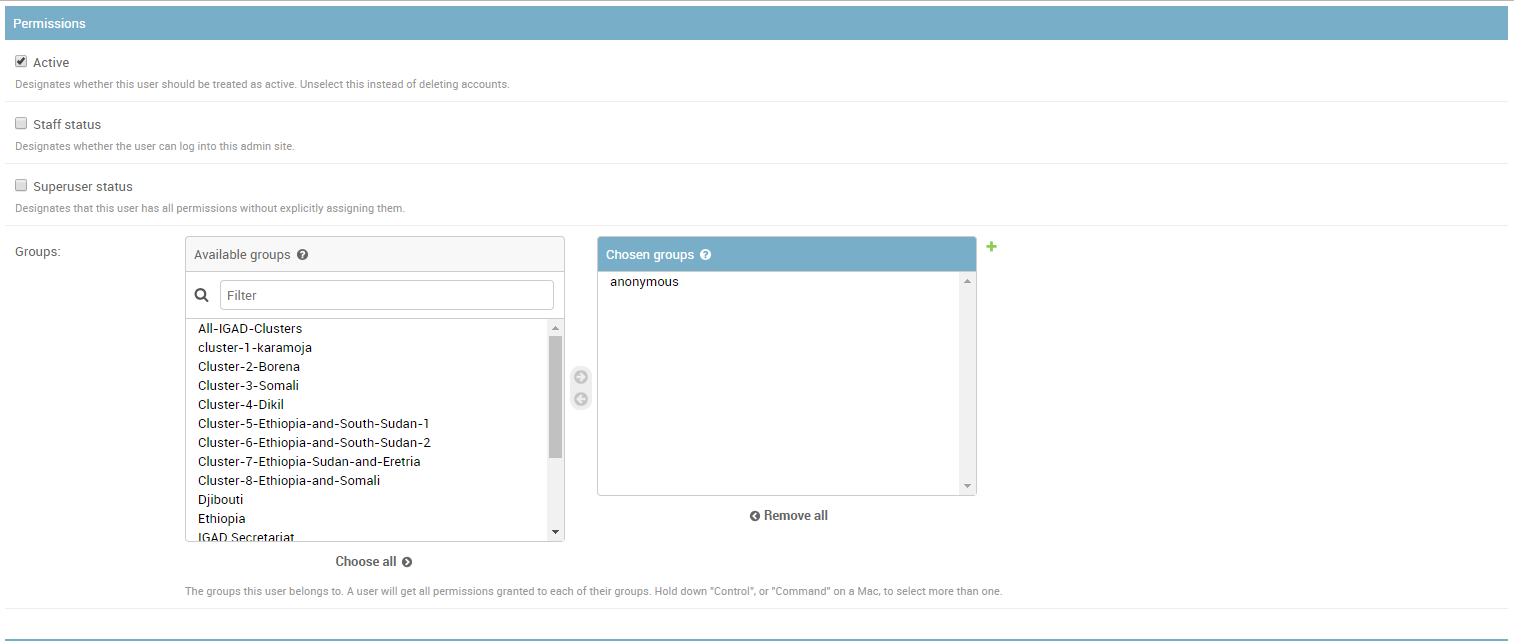
A new form will open asking some personal informations of the user. Fill it and Assign the Permissions.
- Active: for a basic user.
- Staff status: has the rights to access the admin panel.
- Superuser status: has all permissions.
Modifying User
Click on Users from the People box. A list of all users and their status will be shown. By clicking on the username of the user you will be redirected to the later form and you will be able to make modifications on the user informations. As an admin, you will receive a notification when a new user signs up. It is your duty to activate his permissions.

Click on the new user name and Edit its permissions as before to activate him.
If you want to delete a user. Check the flag box associated to the user then Select from the Action list the delete option and Click on Go.

Managing Groups
Find the box called Authentication and Authorization.

Click the Add button to add a new group or on Groups button to make modifications on existing groups.
Managing Data
Find the box called Layers. Here you can add or edit layers, attributes and styles or to approve the published layers.
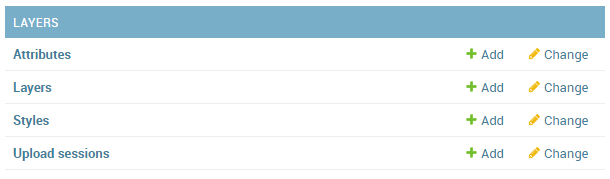
When a user upload some data on the portal, as an Admin you will get notified and it is your responsability to review and to approve the data. Click on Layers. You will be addressed to a new page where you can view all the existing layers in the portal and their status.

Check the box APPROVED or IS PUBLISHED to approve or to publish it.
Managing Maps
Find the box called Maps. Here you can add or edit maps, map layers or to approve the published maps.
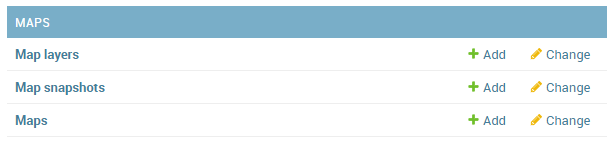
Click on Maps. You will be addressed to a new page where you can view all the existing maps in the portal and their status.

Check the box APPROVED or IS PUBLISHED to approve or to publish it.